|
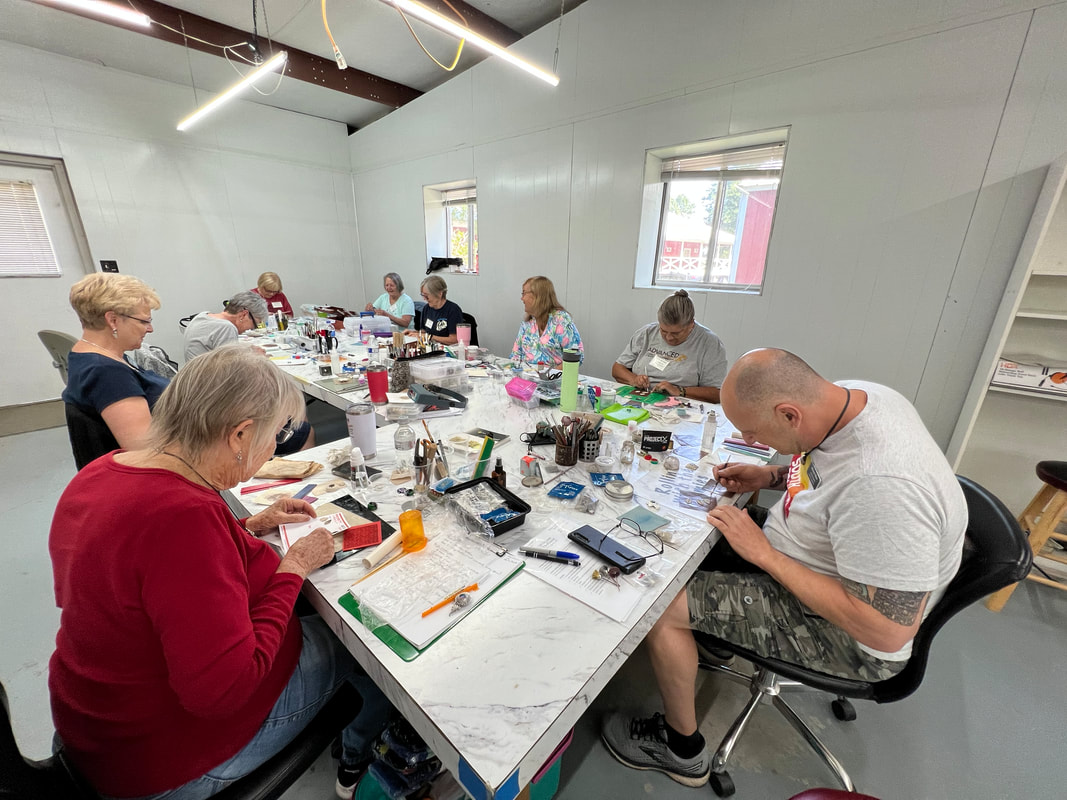
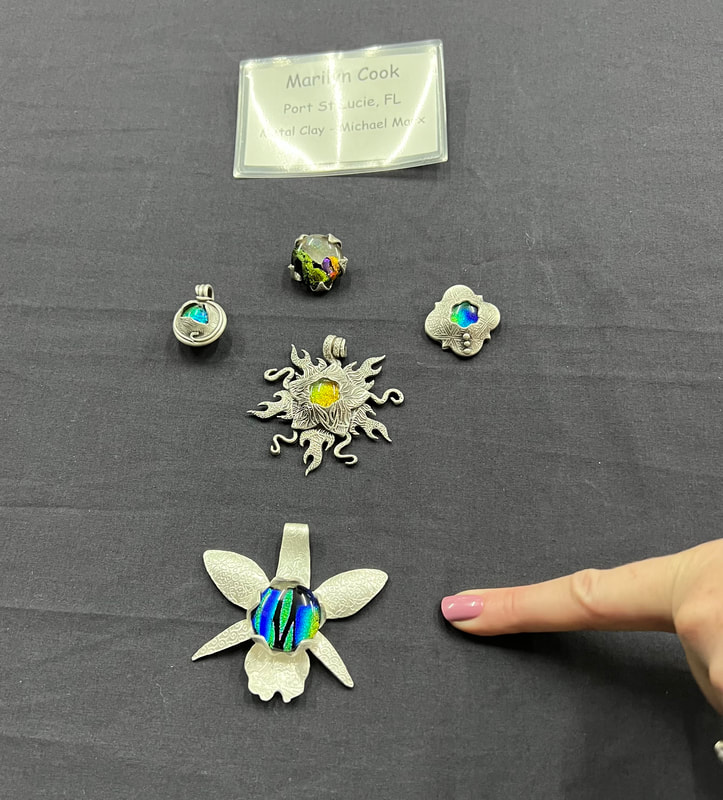
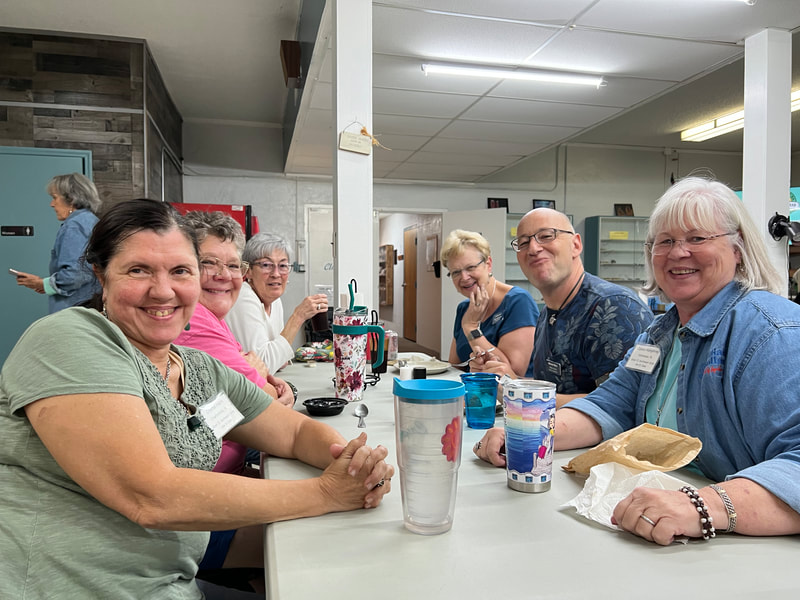
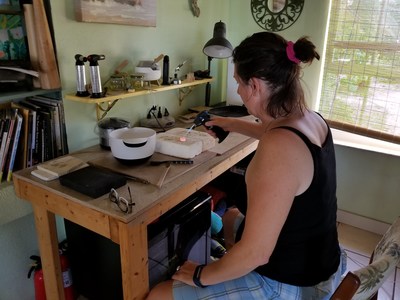
I went with a student up the William Holland Lapidary School for a week to take a class with Michael Marx.
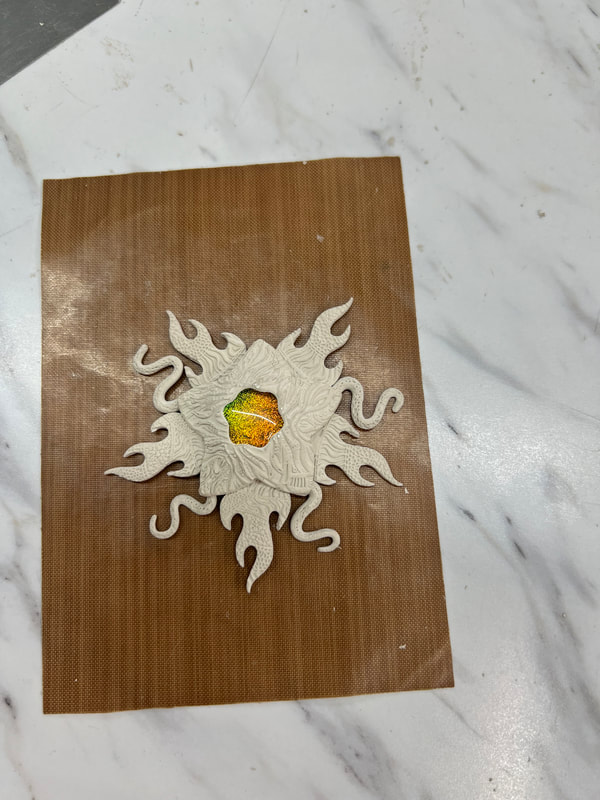
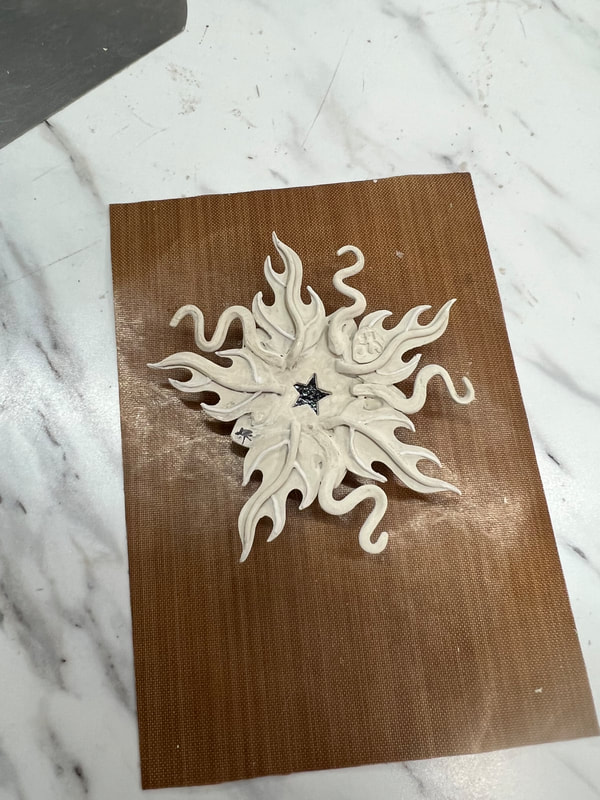
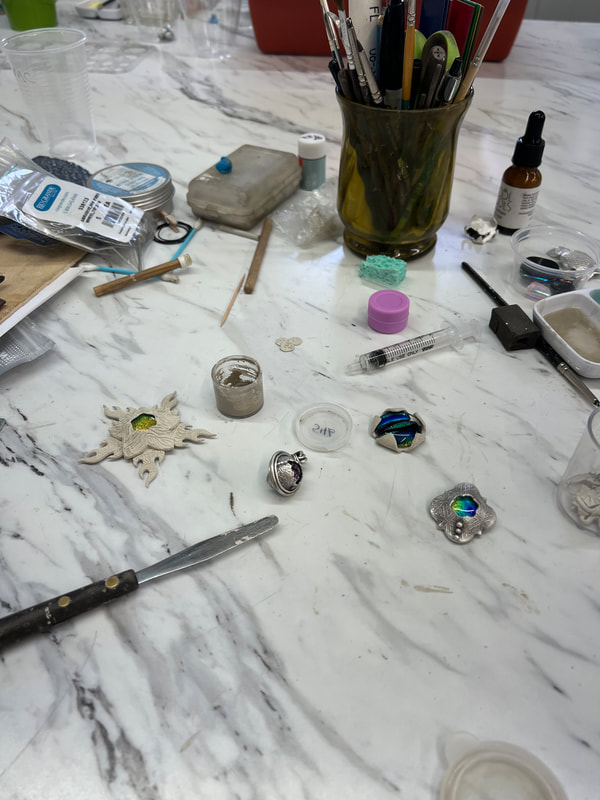
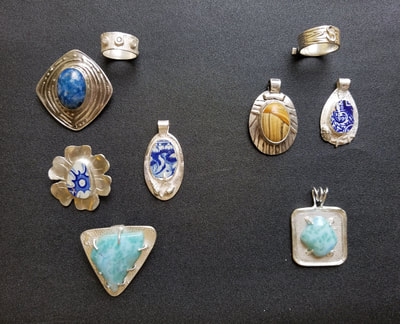
we learned about the new Project X clays, and designed many different pieces with our own fused glass dichroic cabochons. It was in the mountains of north Georgia. what a lovely place. I will have my new pieces listed in my Etsy shop. www.etsy.com/marilyncookdesigns
0 Comments
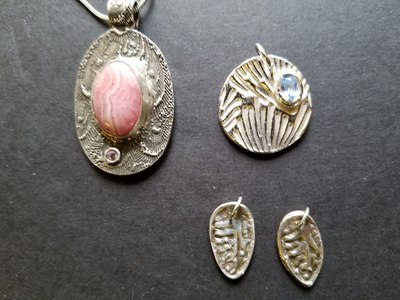
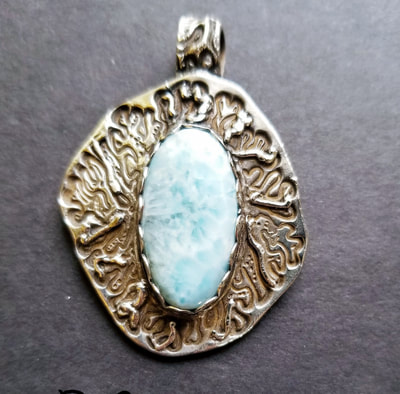
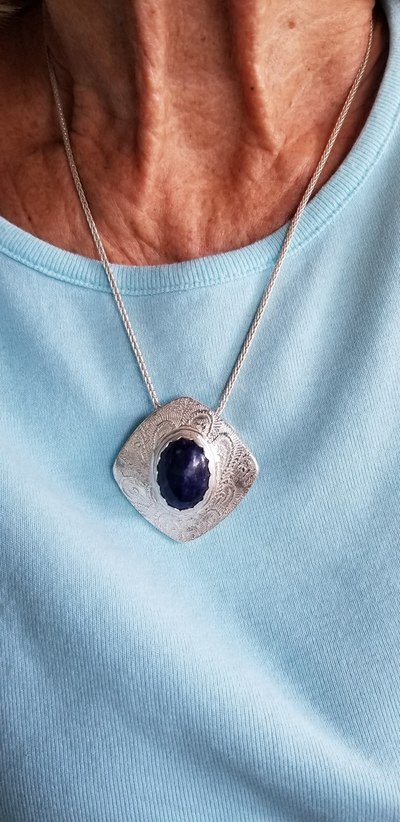
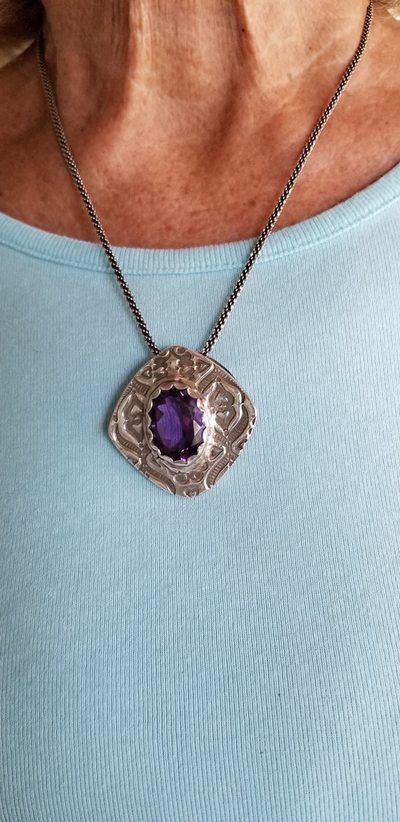
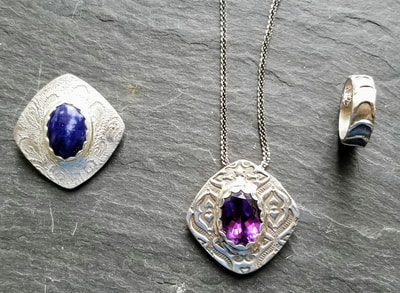
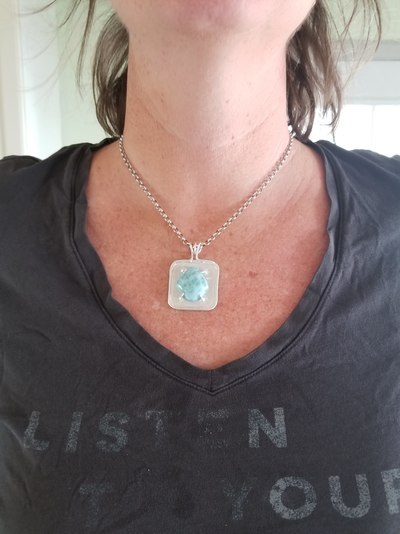
I have a wonderful student who regularly takes in full day classes to increase he expertise in working with metal clay. She is becoming very adept at designing and setting various interesting gemstones in the fine silver metal clay. She has become very successful in selling her designs. Bravo to her!
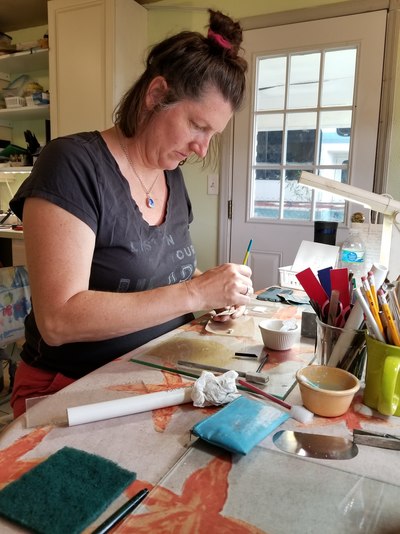
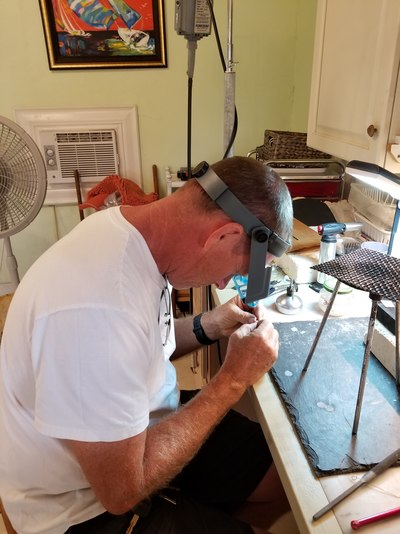
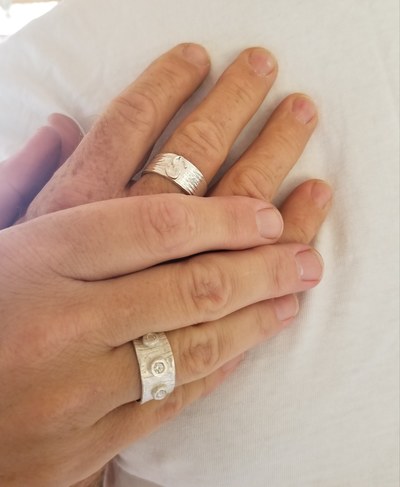
I had a wonderful time teaching 2 beginners metal clay techniques that they can take with them to design beautiful jewelry pieces. They did a great job as you can see!
Hi! Have you ever fired a gemstone into a metal clay piece and afterwards if turned out damaged or an ugly color?
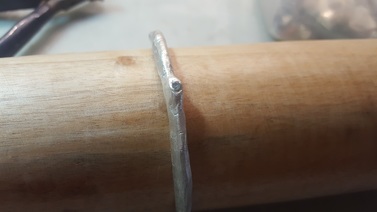
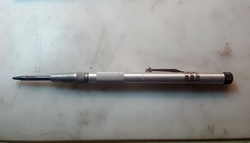
Here is how you can remove them and either add a new stone or setting to the area on your piece. Here is a bangle I made out of 960 silver. It is representing a bent twig. I embedded Rubies and Amethyst CZ's. The CZ's faded to an ugly blue grey as you can see. Tools needed A spring loaded Center Punch found and any Hardware or big box store. A mandrel or a sturdy wood backing block Your metal clay piece Safety Glasses (Very Important) A sharp pointed metal piece (ice pick etc)
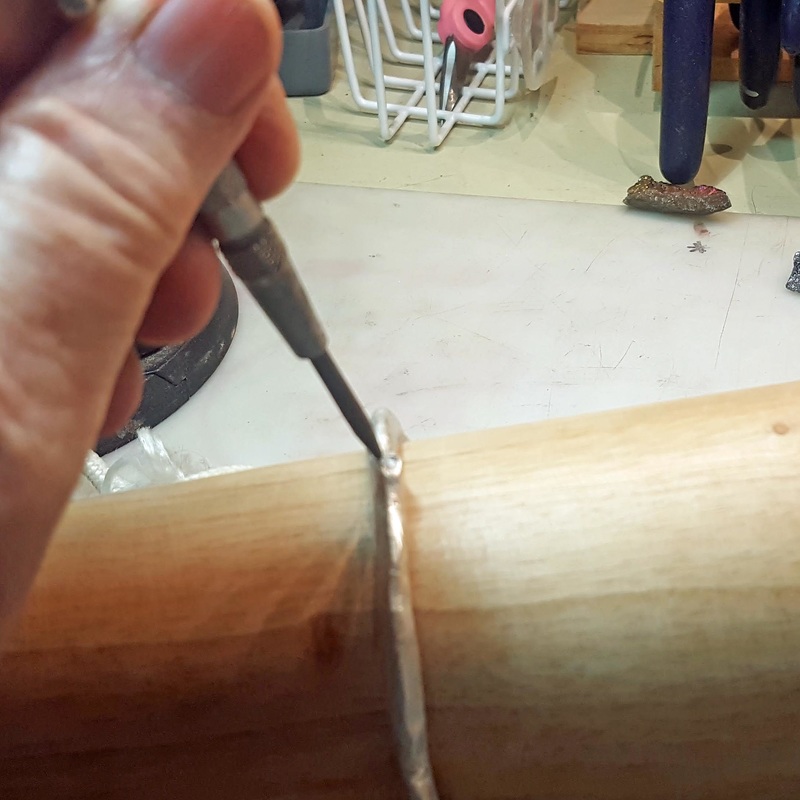
Use the nail setter and punch the stone on the side of the setting. I found three time in different sides did the trick. It will shatter the stone.
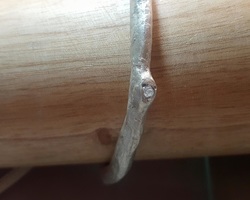
Once shattered, the pieces of the stone can be picked out and the resulting space ground for re embedding a new gemstone or you can use clay and paste to fill the void in order to set a bezel or prong embeddable setting. See above the three indentations where the nail setter punched stone?
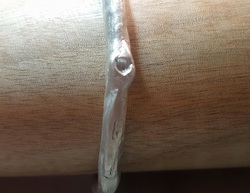
Empty setting ready to be cleaned up
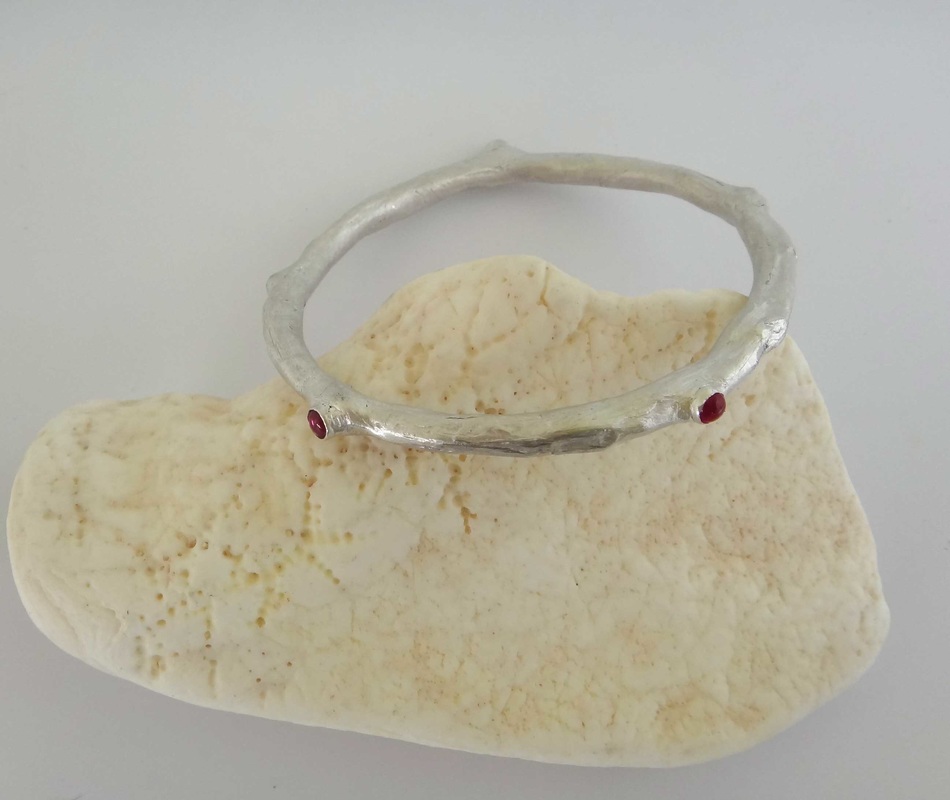
Here is the finisher bracelet with rubies in bezel cups which replaced the nasty faded CZs.
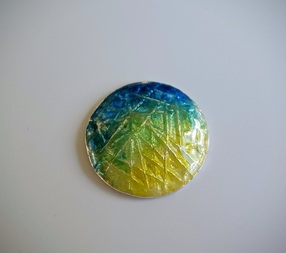
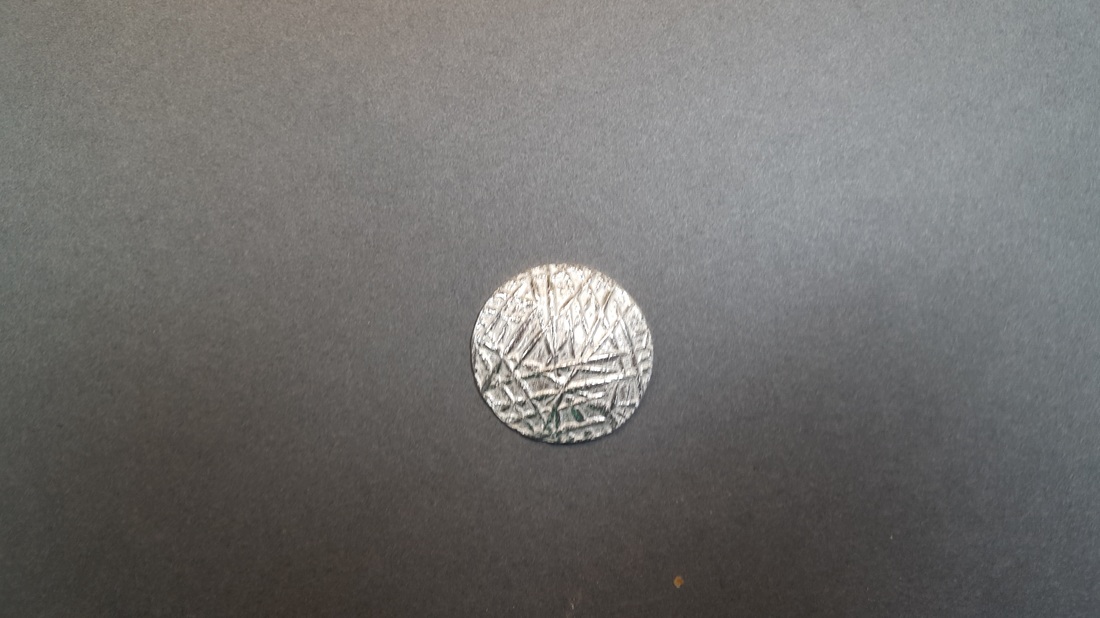
This enameled piece has a lot of wonderful texture and eventually I will design a nice setting to fit it.
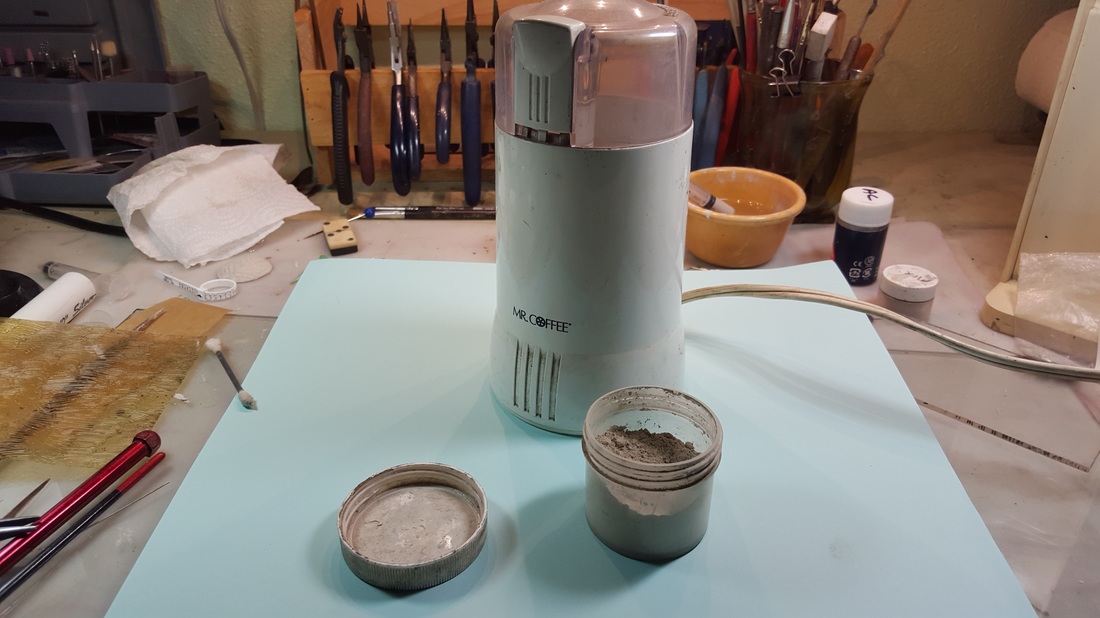
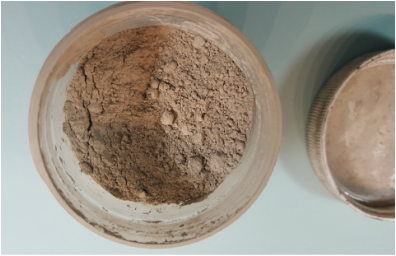
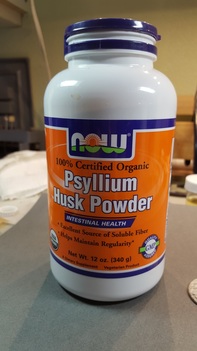
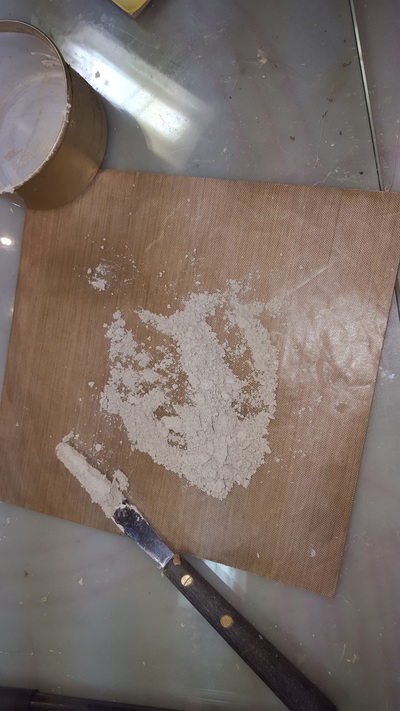
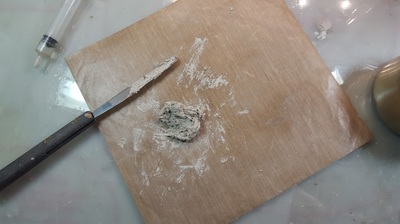
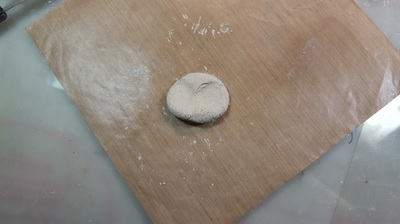
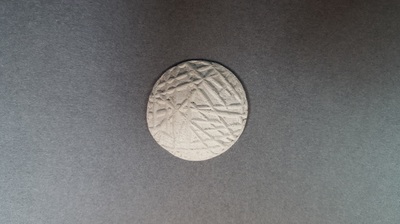
I have been collecting sandings, scraps, old paste, hard nodules that were dropped, and recovered silver from the bottom of the water bowls etc, from every brand of Fine Silver clay over the last 12 years. I have tried to reconstitute it in the past by grinding it to a fine powder, sifting the cat hairs and other stuff out of it and adding a bit of water. It did not hold together as there was very little binder left in the mix. Here is the coffee grinder I got at the thrift store and the jar of about 5 ounces of powder I ground and sifted There was a conversation about this on the Metal Clay Europe Facebook Page and someone mentioned methylcellulose works a bit, but I never heard how well. I was looking around on Amazon.com one day, and found this bottle of Psyllium husks for my old kitty to help with her constipation. I ordered it and when it came in I mixed it in water to see how potent it was before I fed the cat any. 1tsp adsorbed a lot of water and it was a smooth gel. That had me thinking about the silver powder I had stored. So I experimented and this is what I found: (this is US measurements) One slightly heaping teaspoon of old fine silver powder 1/16th tsp of Psyllium powder about 35 drops of water +/- Mix on a piece of plastic with a small flat knife until well mixed and it is starting to hold together. You should be able to either roll it into a ball and mix well in your hand or put into a plastic report sheet and roll and fold till well mixed. Wrap and put into a container overnight and the next day it should be ready to use. If your clay is totally unknown as to what types of fine silver went into it, then I would fire it at 1650F for at least an hour. I will be firing this piece in my next hot load of silver and will be enameling on it. Stay tuned for the final product. I am so excited to be able to use all this reclaimed silver I have been collecting!
Please leave a comment as to your success with this. Thanks I was playing around on the internet and found a very good article about Why is it better to buy handmade items. What we do as artists and the time and effort we put into our creations makes them very special and more valuable than mass produced items. Some buyers only want mass produced and inexpensive, but there are those who appreciate and collect one of a kind and special pieces, be they original paintings or a statement jewelry piece.
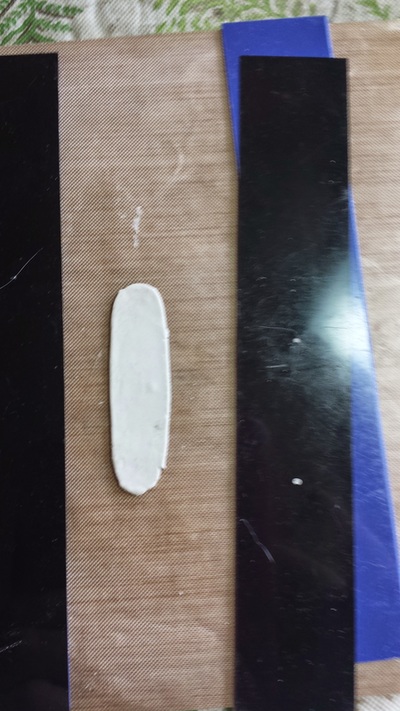
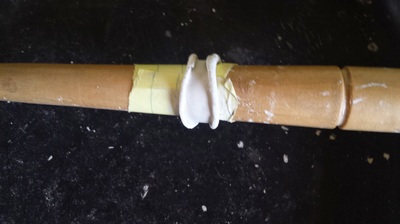
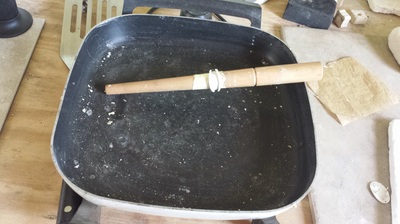
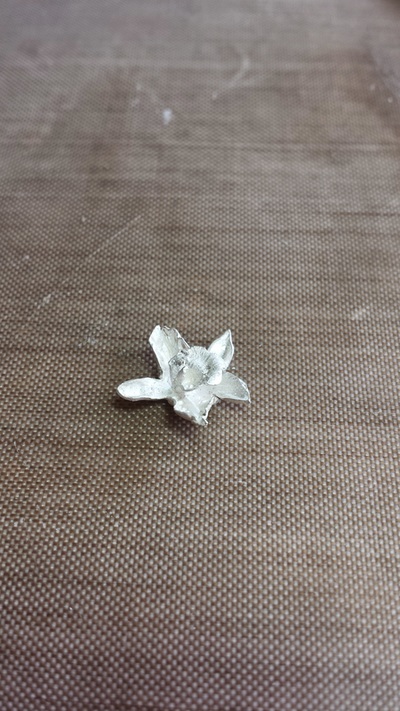
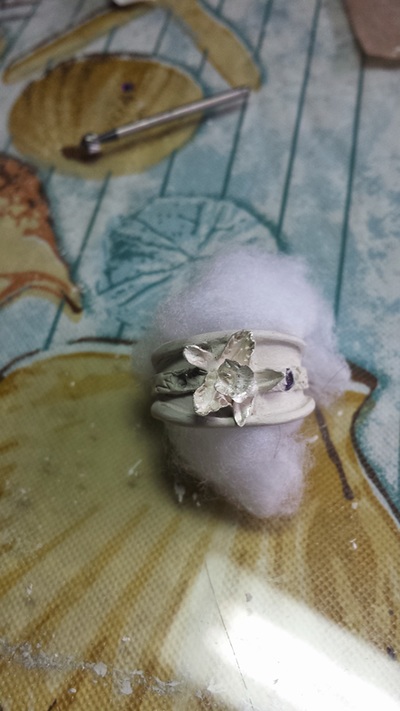
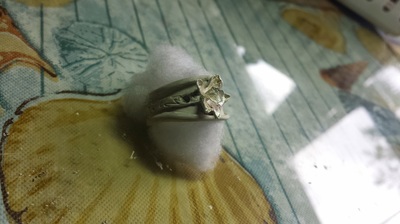
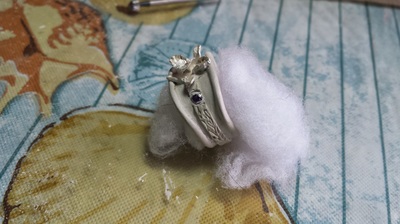
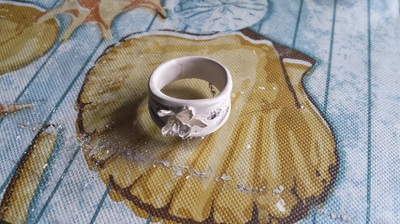
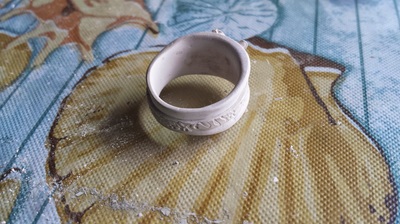
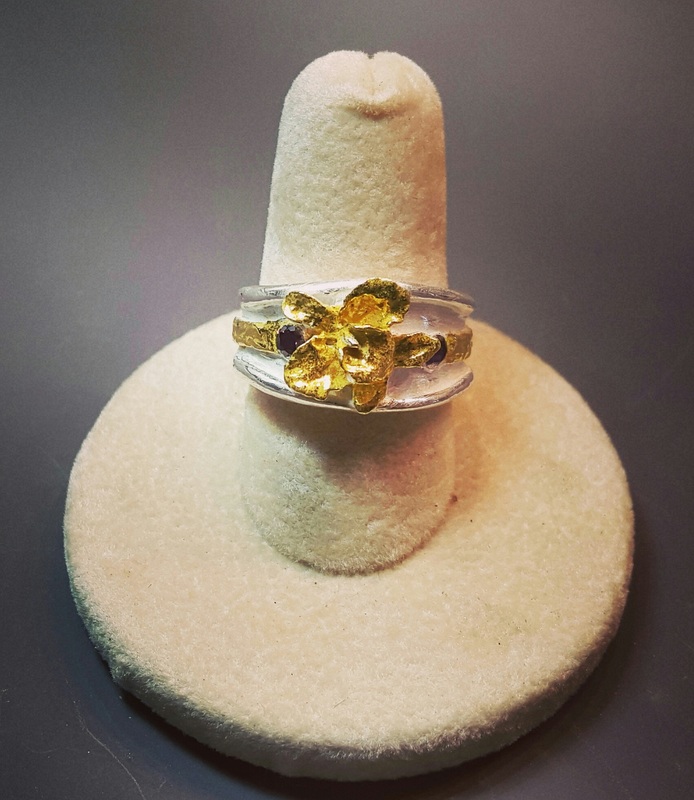
Here is the link: "7 Things You Didn't Know About Handmade Jewelry" Enjoy your day... I thought you would be interested in a special order ring I designed for an orchid loving friend. The hardest part of this ring was the making of the tiny orchid that was put on to the ring. I ended up rolling flat the Art Clay about 3 cards thick and cutting out the basic shape of the petals and while it was still wet I formed the petals into a nice shape. After it was dry I put the "nose" onto the front with 2 card thick clay cut out. I used a tooth pick rolled onto the ends of the petals to make them flare. Here are some photos of the ring construction:
Hi, happy summer!
I have just returned from a 5 day class up in Georgia with Master enamelist Ricky Frank. I am all excited to start new colorful creations with the metal clay. Photos will soon follow. I haven't blogged for a very long time as I broke my wrist in three places and that really placed a crimp in my creativity. I now have use of my right hand so I can get back into the studio and make things again. Stay tuned for photos and videos of new work. Ciao! |
Archives
September 2023
Marilyn CookI am anArt Clay Senior instructor who loves working with all aspects of Metal Clay. Categories |

 RSS Feed